Tesla Quarter Glass Replacement
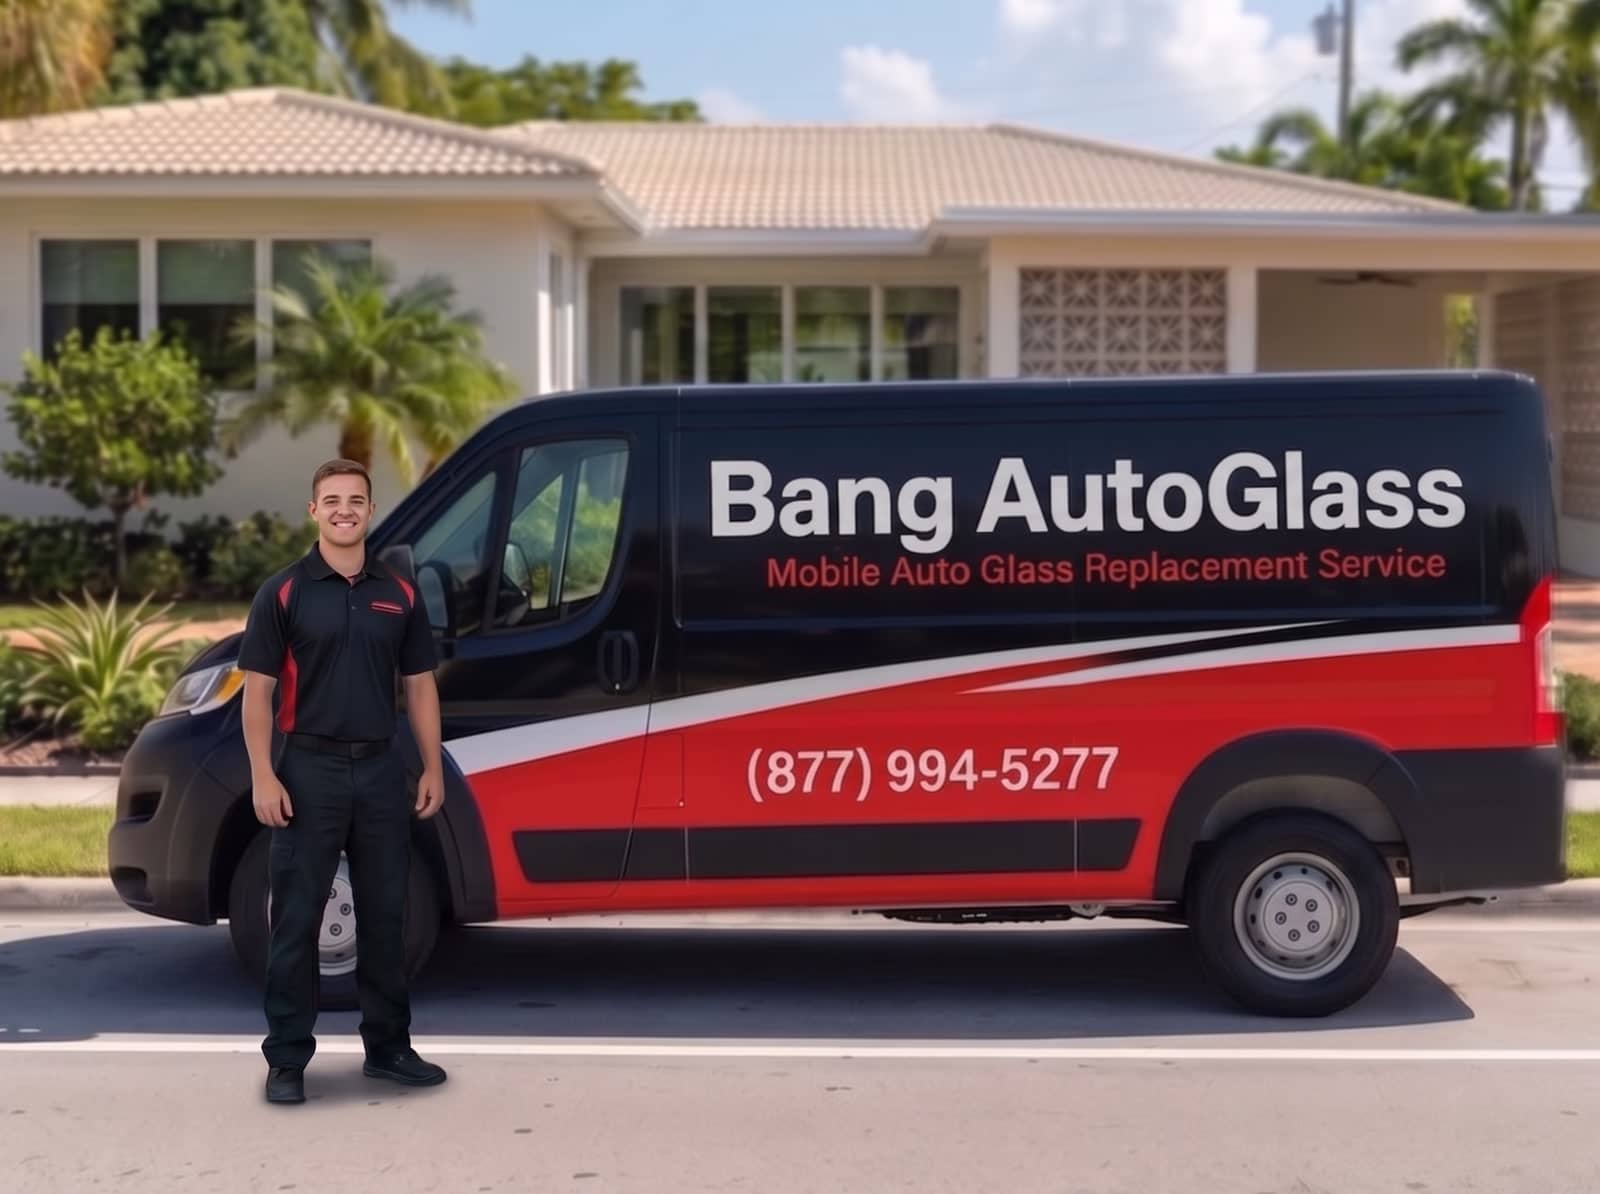
Bang AutoGlass replaces Tesla quarter glass on Model Y, Model X, Model S, and Cybertruck with OEM-fit tempered EV safety glass set in fresh urethane for a watertight, factory-matched seal. Mobile service in Arizona and Florida includes careful trim handling and a lifetime workmanship warranty.
Tesla Quarter Glass Replacement
If you drive a Tesla, you already know that every piece of glass on your vehicle is engineered to do more than just let you see out. From the panoramic roof to the smallest side window, Tesla glass is part acoustic insulator, part safety component, part design statement. So when a Tesla quarter glass cracks, shatters, or gets damaged in a break-in, replacing it is not a job you want done by just any shop. At Bang AutoGlass, we specialize in Tesla quarter glass replacement and bring OEM-quality materials directly to your driveway with next-day mobile service. Below, we walk through everything Tesla owners need to know about quarter glass replacement, what makes it different from standard auto glass, and how our process protects both your vehicle and your time.
Understanding Tesla Quarter Glass
What Is Quarter Glass on a Tesla?
Quarter glass, sometimes called quarter window, quarter light, or valance glass, refers to the smaller windows positioned behind your rear doors on most Tesla models. These windows are usually fixed in place, meaning they do not roll up or down like your front or rear door windows. Their job is to expand outward visibility, brighten the rear cabin, and complete the sleek, flowing rooflines that Tesla is known for. Because quarter glass sits at the rear corners of the cabin, it plays a quiet but important role in the structural feel of the vehicle, the acoustic quality of the interior, and the overall aesthetic of the body panels.
On a Tesla, quarter glass is rarely simple flat glass. It is shaped, tinted, sometimes laminated for sound reduction, and bonded into the body with precision adhesives that have to be applied correctly to keep wind noise, water leaks, and rattles out of the cabin. That is why a Tesla quarter glass replacement is not just a swap and seal job. It demands the right glass, the right adhesive, and the right hands.
Tesla Models That Use Quarter Glass
Almost every Tesla on the road has a form of quarter glass, although the shape, size, and installation method vary by model.
Model 3
The Tesla Model 3 has compact rear quarter windows that sit just behind the rear doors. These are factory-tinted and contribute to the Model 3's signature fastback profile. Because the Model 3's cabin pillars are slim, the quarter glass takes on a larger share of visibility duty than on many sedans, which makes proper alignment during replacement critical.
Model Y
The Tesla Model Y uses a curved quarter glass that wraps around the C-pillar area to support the SUV's panoramic feel. The glass is bonded in and trimmed with body-colored molding that has to be carefully removed and reinstalled to avoid scratches or paint chips during the replacement.
Model S
The Tesla Model S features a fastback-style quarter glass that sweeps up to meet the panoramic glass roof. Many Model S vehicles use acoustic laminated quarter glass for cabin quietness, which makes OEM-quality replacement material essential to preserve that premium driving experience.
Model X
The Tesla Model X is unique because of its falcon wing doors. The fixed quarter glass on the Model X sits in a tight, sculpted area near the rear pillars and the falcon wing hinge points. Replacement on this model requires extra care to avoid disturbing surrounding seals and sensors.
Cybertruck
The Cybertruck's quarter glass follows the truck's angular, stainless-steel-clad lines and is engineered with Tesla's armored glass philosophy in mind. Quarter glass replacement on the Cybertruck calls for precise body-line alignment and matching materials.
Common Causes of Tesla Quarter Glass Damage
Road Debris and Flying Objects
Highway driving sends gravel, rocks, and debris flying at unpredictable angles. Quarter glass is often hit by debris kicked up from the rear tires of nearby vehicles, especially on construction zones and freshly chip-sealed roads. A small impact at speed can crack quarter glass instantly, even when the rest of the vehicle remains untouched.
Break-Ins and Vandalism
Unfortunately, Tesla quarter glass is one of the most common targets for vehicle break-ins. Because the windows are smaller, fixed, and tucked behind the door panels, thieves often break them to bypass the door locking system. If your Tesla has been broken into, replacing the quarter glass quickly is essential not only for security but to protect the interior electronics from weather exposure.
Stress Cracks and Temperature
Tesla glass is highly engineered, but extreme temperature swings between hot sun exposure and cold nights can create stress cracks, especially if there was a small chip or pressure point already present. Tesla owners in regions with intense summers and chilly mornings tend to see this more often than people realize.
Improper Door Slams and Body Flex
A surprisingly common cause of quarter glass damage is repeated hard door slams or jacking the vehicle improperly during tire work. Because Tesla bodies are aluminum and high-strength steel hybrids, flex at the wrong point can transfer stress directly into bonded glass.
Why Tesla Quarter Glass Replacement Requires Specialized Expertise
Bonded vs. Mechanical Installation
Tesla quarter glass is almost always urethane-bonded directly to the body. That means there are no screws holding the glass in place. Instead, a specialized automotive urethane adhesive forms a structural bond between the glass and the body shell. If that bond is rushed, contaminated, or set with the wrong adhesive, you can end up with wind noise, water leaks, or even glass that pops loose under highway pressure. This is why the cure time matters so much and why we follow strict safe-drive-away protocols.
Trim and Molding Considerations
Tesla uses tight, clean exterior trim around quarter glass, often with body-colored or gloss-black moldings. A technician unfamiliar with Tesla trim can easily scratch the paint, bend a clip, or damage the molding during removal. Our team is trained on Tesla-specific trim handling so the area around the new glass looks just as factory-fresh as the glass itself.
Acoustic and Laminated Glass
Several Tesla models use acoustic laminated glass for the quarter windows, which sandwiches a sound-dampening layer between two pieces of glass. If your Tesla originally came with laminated quarter glass and a shop replaces it with cheap tempered glass, the cabin will sound noticeably louder. We make sure your replacement matches the original glass construction so your cabin acoustics stay as quiet as Tesla designed them.
Our Tesla Quarter Glass Replacement Process
Step-by-Step Replacement Overview
We take a structured approach to every Tesla quarter glass replacement so nothing is missed. Here is exactly how a typical appointment unfolds:
- We confirm your Tesla model, year, trim, and VIN to source the correct OEM-quality quarter glass with the proper tint, laminate construction, and curvature.
- Our mobile technician arrives at your home, office, or other location at the scheduled time with all glass, adhesives, and trim tools ready.
- We carefully protect the surrounding paint, interior upholstery, and weather seals before any work begins.
- The damaged glass and any reusable trim or moldings are removed using Tesla-appropriate techniques to avoid bending clips or scratching panels.
- The pinch weld and bonding surface are cleaned, primed, and prepared for new urethane adhesive.
- The new OEM-quality quarter glass is set into place with proper spacing, alignment, and bonding pressure.
- Trim and moldings are reinstalled, the work area is cleaned, and we walk you through your safe-drive-away time and lifetime workmanship warranty.
Replacement and Cure Times
Most Tesla quarter glass replacements take 30 to 45 minutes of hands-on installation time, followed by approximately one hour of adhesive cure time before the vehicle should be driven. That cure window is non-negotiable for safety. Driving too soon can compromise the bond and even shift the glass during acceleration or hard braking. We explain this clearly during your appointment so you can plan your day around it.
OEM-Quality Glass for Every Tesla
What Makes Our Glass OEM-Quality?
When we say OEM-quality, we mean glass that is manufactured to the exact same specifications Tesla uses for fitment, thickness, tint, curvature, and laminate construction. The glass is sourced from manufacturers that produce to OE standards, and it meets or exceeds DOT and FMVSS safety requirements. For Tesla owners, that means the replacement glass behaves like the original in terms of optical clarity, sound dampening, UV filtering, and crash performance.
Tesla-Specific Fitment Features
Tesla quarter glass replacement is not a one-size-fits-all job. Each Tesla has fitment elements that need to be matched, and our glass is selected with those details in mind:
- Correct factory tint shade so the new quarter glass blends seamlessly with the other rear windows on your Model 3, Model Y, Model S, or Model X.
- Acoustic laminated construction when your Tesla originally came equipped with sound-dampening glass for a quieter cabin.
- Precise curvature matched to the body line of your specific Tesla model and year.
- Proper bonding flange thickness to accept Tesla-spec urethane and ensure a leak-free seal.
- Trim and molding compatibility so OEM clips, gaskets, and exterior moldings reinstall without modification.
Mobile Tesla Quarter Glass Replacement
How Our Mobile Service Works
Bang AutoGlass is a fully mobile service, which means we come to your Tesla rather than asking you to bring your Tesla to us. This is a big deal for Tesla owners, especially because dealing with a damaged window often means you cannot safely drive your vehicle or you simply do not want to leave it sitting at a shop for half the day. We bring everything we need, from the OEM-quality glass to the urethane adhesive and trim tools, directly to your driveway, your office parking lot, or wherever your Tesla is parked.
Next-Day Appointments
We know that a broken quarter glass is not something you want to live with for a week. That is why we offer next-day appointments for Tesla quarter glass replacement whenever scheduling allows. You can call today, get on the books for tomorrow, and have your Tesla back to factory condition without the long wait times that dealerships and traditional glass shops are often known for.
Insurance and Claims Assistance for Tesla Owners
Comprehensive Coverage and Glass Claims
Most Tesla owners carry comprehensive insurance coverage, which typically includes glass damage. Depending on your policy and your state, Tesla quarter glass replacement may be covered with a deductible, with reduced deductible glass coverage, or sometimes even with zero out of pocket cost. Because Tesla glass and labor can be more involved than a generic sedan window, comprehensive coverage often makes the financial side of a quarter glass replacement much easier.
How We Help You File a Claim
We help you with the insurance claim from start to finish and make the process as smooth as possible. We will walk you through what information to gather, including details about your Tesla, the type of damage, the cause if known, and our shop and pricing details. We can be on a call with you while you contact your insurer if helpful, and we can answer technical questions your adjuster may ask about the glass, the labor, and the materials involved. Our goal is to make the claims process as smooth as possible so you can focus on getting your Tesla repaired rather than navigating paperwork alone.
Lifetime Workmanship Warranty
Every Tesla quarter glass replacement we perform is backed by our lifetime workmanship warranty. That means as long as you own the vehicle, if anything related to the workmanship of the installation ever causes an issue, whether it is a leak, a wind noise, or a trim concern tied to our work, we will make it right. This warranty reflects the confidence we have in our technicians, our materials, and our process. It is also a promise that we stand behind every Tesla we service, not just at the appointment but for the long haul.
Why Choose Bang AutoGlass for Tesla Quarter Glass Replacement
Tesla owners have a lot of options when it comes to glass repair, and we know that. What sets Bang AutoGlass apart for Tesla quarter glass replacement starts with the fact that we treat Teslas like the high-tech vehicles they are. We do not approach a Model 3 or Model Y with the same playbook we would use on a twenty-year-old sedan. We invest in the right tools, the right glass, and the right training so each Tesla we service leaves looking and feeling factory fresh.
We also believe in transparent communication. We tell you exactly what glass you are getting, exactly how long the installation will take, exactly how long the urethane needs to cure before you drive, and exactly what your warranty covers. We do not surprise customers with hidden fees, vague timelines, or fine print. Combine that with mobile convenience, next-day availability, OEM-quality materials, and a lifetime workmanship warranty, and you have a Tesla quarter glass replacement experience that is built around the way Tesla owners actually live and drive.
Schedule Your Tesla Quarter Glass Replacement Today
If your Tesla Model 3, Model Y, Model S, Model X, or Cybertruck needs quarter glass replacement, do not wait. Driving with a cracked or shattered quarter window exposes your interior to weather, increases the risk of further damage, and creates security concerns. Bang AutoGlass is ready to come to you, install OEM-quality glass, complete the replacement in about 30 to 45 minutes plus a one hour cure window, and back the work with our lifetime workmanship warranty. Reach out today using the contact information above or the quick sign up form on this page, and we will get your Tesla scheduled, often as soon as the very next day.
Tesla Quarter Glass Replacement — common questions
What is Tesla quarter glass replacement?
Quarter glass is the small fixed window behind the rear door on each side of your Tesla. It's a tempered glass panel that's bonded in place and fully replaced if cracked or shattered—it cannot be repaired.
How long does Tesla quarter glass replacement take?
The replacement itself takes about 30-45 minutes to complete. The adhesive then needs time to set — about an hour is typical, and your technician confirms the exact safe drive-away time. Plan for about 1.5-2 hours total.
Is quarter glass replacement covered by insurance?
Quarter glass damage is typically covered under comprehensive insurance. We'll help you file your claim, and depending on your policy, you may have nothing out of pocket if your deductible is waived.
What warranty covers Tesla quarter glass replacement?
Every replacement is backed by our lifetime workmanship warranty, and we use OEM-quality glass and materials to ensure your Tesla meets factory standards.
Where we do Tesla auto glass
Bang AutoGlass is a mobile auto glass company serving Arizona and Florida. We don't have a shop you drive to — we come to your home, your job, or wherever the car is sitting, with next-day appointments in most areas. In Arizona that means the whole Valley — Phoenix, Mesa, Scottsdale, Chandler, Gilbert, Tempe, Glendale and out to Tucson and Prescott. In Florida we cover Tampa Bay, Orlando and Miami, from St. Petersburg and Clearwater across to Kissimmee, Winter Park and Fort Lauderdale.
Browse every city we serve in Arizona and Florida, or read how coverage works under Arizona's glass statutes and Florida's § 627.7288.
Mobile auto glass — cities we serve
4.8★ on Google · 350+ reviews from AZ & FL drivers
“I needed my windshield replaced and they made the entire process easy. Bang AutoGlass is the best!”
“Top-notch auto glass service. They handled my windshield replacement quickly and professionally.”
“Bang AutoGlass made my windshield replacement simple from start to finish.”
Need Tesla Quarter Glass Replacement?
We come to you across Arizona and Florida — often $0 with insurance.
We reply within minutes during business hours.